Makeup has unbelievable powers to enhance features, beautify overall appearance and boost self-confidence. However, to achieve the desired benefits; you need to be aware of the skillful utilization of quality products and their correct quantity. The key, to ensure that your makeup looks great throughout the day, is to follow the general order suggested by the pros. Don’t worry, you will be reading about it below!
This step-by-step guideline will help you learn the effective application of makeup with some least-known tips and life hacks. Excited? Read on!
Step 1: Moisturize/Hydrate

Tip – Your skin needs to be well hydrated and prepped. The better the quality of skin, the longer your makeup is going to stay.
First things first, you need to follow a proper Cleansing, Toning and Moisturizing (CTM) routine to ensure a perfect and long-lasting makeup application. Besides, it is proposed to, use a sheet mask for instant skin hydration. You just need to keep it on for at least 5 to 10 minutes before painting your face for optimum results. Also, applying a high-quality moisturizer prior to prepping the skin for makeup can do the job. Fortunately, you can find several types of hydrating products in the marketplace. We have listed down a few from the lightest to the heaviest textures:
| Type of Moisturizers | Texture | Best-suited for? | Properties |
| Face mists | Lightest | All skin types | Water-based solutions, contain skin boosting vitamins, hydrate skin, provide a dewy look, help makeup last long. |
| Serums | Lightweight | All skin types | Lightweight solution, highly absorbent, wide range is available, prevent aging signs, moisturize, add brightness. |
| Lotions | Slightly thick | All skin types | Commonly found, suitable for every skin type, non-comedogenic lotions avert pores clogging. |
| Creams | Thick consistency | Dry to normal skin | Suitable for extremely dry skin, thick in consistency, hydrate well, work as a base, ensure soft skin. |
| Oil | Thick solution | Dry, flaky, sensitive to normal skin | Extremely hydrating, promote smooth makeup application. |
Step 2: Prime
Tip – You need to use dedicated eyelid primers to achieve the desired eye makeup look; face products may not work best.
Now that your skin is well moisturized; it is about time to choose a right primer. No matter, you intend to apply a thin layer of foundation or want a full coverage; primer is significant to flaunt the look just like a true diva. There are many benefits of using the product, for example:
- It acts as a shield between the makeup and your skin, ensuring less skin damage.
- It helps in smooth makeup application, less creasing.
- It fills up open pores and fine lines, so your skin looks flawless.
- It makes sure your makeup last longer.
Make sure to use a good-quality primer ‘only’ that doesn’t clog pores, prevent creasing and make the foundation last longer. You can also consider mineral makeup for optimum results.
Bonus Tips: Over priming the skin is not a good idea either; a pea-size amount of the product is enough.
Step 3: Foundation
Tip – choosing the right shade for the skin should be the number one priority, when it comes to buying foundations. So, use your jawline to test the color match for an authentic result.
Once you have selected a foundation; the next step is to use suitable tools for application. Some women are comfortable in using their fingers to blend the product, while others prefer beauty tools, like sponges and brushes. Regardless, both ways are correct.
For light or minimal coverage; fingers can do a great job. However, make sure your hands are properly washed and ideally sanitize before the actual work. On the other hand, a stippling makeup brush or beauty blender is best-suited for a full-coverage look.
Bonus Tips: Always blend the foundation in an outward direction. It is best to use a beauty blender over the stippling brush for a smooth finish. Moreover, tap the product into the skin rather rubbing or sweeping it with tools.
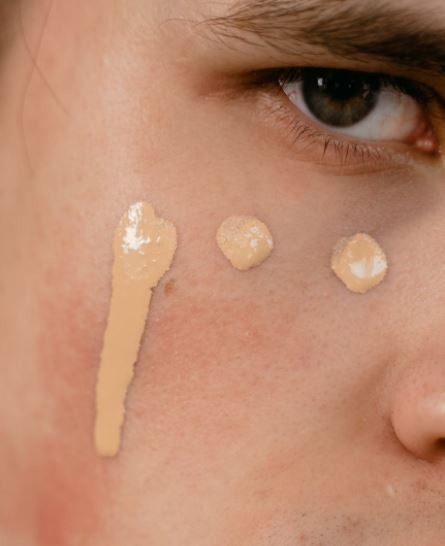
Step 4: Conceal
Tip – choose two concealers for your skin; one should be similar to the complexion to hide the flaws and spots, the other one has to be one shade lighter to highlight the area.
The power of a concealer is undeniable. It not only hides the flaws of your skin like a pro, but also uplifts your features and add a glow to the overall look. You may see two types of concealers; stick/compact and liquid.
- Stick/Compact Concealers
- Thick in texture
- Offer heavy coverage
- Suitable for hiding spots and skin discoloration
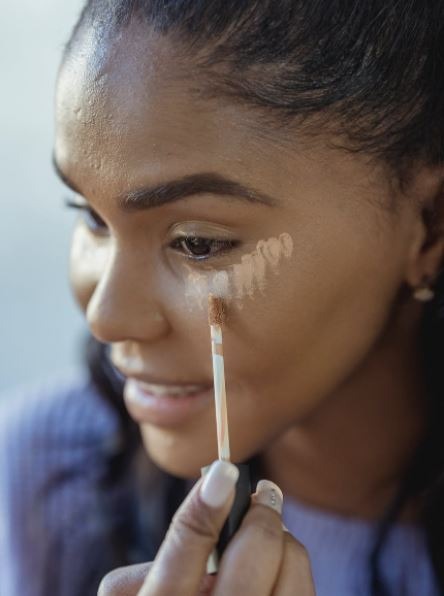
- Liquid Concealers
- Good for light or minimal coverage
- Work well with wrinkles and fine lines, like under the eye or around the mouth.
Note: there are two right ways to apply concealer, one is over the foundation and the other is under the foundation. Both are correct. You just need to know what works best for your skin; try them both to find out.
Step 5: Fixing Powder
Tip – apply fixing powder using a fluffy powder brush and don’t overdo the step, else it will give a cakey or chalky look.
Using powder over the foundation is tricky, especially for first timers. However, moderation is the key! It is suggested to use a large and fluffy brush for application. Start with dusting off a light coat all over the face and then build it over, if required.
In case you need more coverage in specific areas of the face (especially T-zone or red spots); place the brush in powder and press it firmly into the skin. This way, the product will settle into the lines and pores, giving a smooth and uniform texture.
Step 6: Bronzer

Tip – only use a bronzer brush to tint the skin. This is because it has more bristles that are tightly placed together in order to pick out most of the pigment for smooth application.
Tan look is highly desired throughout the year. The good news is; you can flaunt the look by using a bronzer. All you need to do is; take a dedicated bronzer brush, sweep it on both sides of your face in number ‘3’ shape. Start with the forehead, move along the cheeks, across the jawline and make its way down to the chin. Blend the product nicely into the skin until there are no obvious or harsh lines.
Bonus Tip: if you are not good at buying the right product; it is suggested to choose the bronzer which is at least two shades darker than your skin.
Step 7: Blush
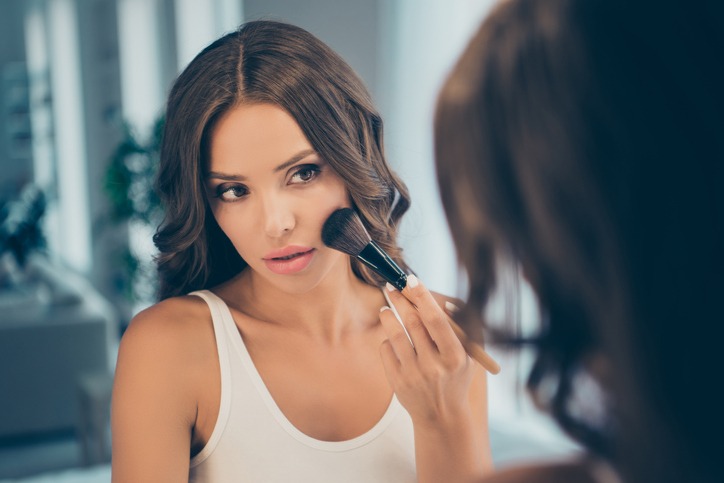
Tip – Always apply blush from outwards to inwards direction for a sleek look. Use a dense brush to pick a good amount of color.
The entire makeup look is incomplete without flushed cheeks. A little bit of color on the malar bone adds vibrancy to the complexion and enhance the features. It is best to use a dense brush for application that has several bristles. You may find a wide range of colors in blushes and every pigment has a different way of application.
Step 8: Highlighter
Tip – highlighting the inner corner of eyes, nose bridge, forehead bridge, upper lip and chin can give you a dewy and uplifted look.
No matter you are creating a bold look or a natural one; a highlighter has the power to level up your makeup game. Fortunately, they come in a variety of textures and forms, like cream, liquid, powder, spray, etc. You can also be creative with highlighters by applying combination of two or three on the high points of your face. Especially if the event/occasion is at night; a right amount of highlighters can make you stand out in the crowd. Guaranteed.
Step 9: Setting spray/powder
Tips – hold the spray 8 inches away from your skin. Make sure the product covers all areas of your face. For that, spray in X shape and then T shape.
Now that your base is ready, it is time to lock everything in place until you take it off yourself. That is when a good-quality setting spray/powder can be a savior. Besides, there are many benefits of using a fixing product, such as:
- It keeps your makeup intact all day long.
- It prevents creasing and cracking of the base.
- It also ensures that there is no greasing or shine, especially in oily skin texture.
- It gives a glowing effect to the overall look.
Important!
Don’t rub the product after application. It will vanish away in a few seconds.
Final Look
And that’s all for now! To cut it short, creating any makeup look is effortlessly possible with attention to detail and following the guided steps, tips and tricks religiously. However, every person is different from the other, so are their preferences. Therefore, you need to find a method that works for your skin, which can only be possible with practice! You might also be interested to know how to ensure healthy skin while wearing makeup.
Ending the post here by sharing an essential tip; blending is as important in makeup as breathing is to us. This includes the blending of foundation, eye shades, blush, bronzer, highlighter and about every product you are applying on your face. Blend, blend and some more blending. Have a good makeup day!