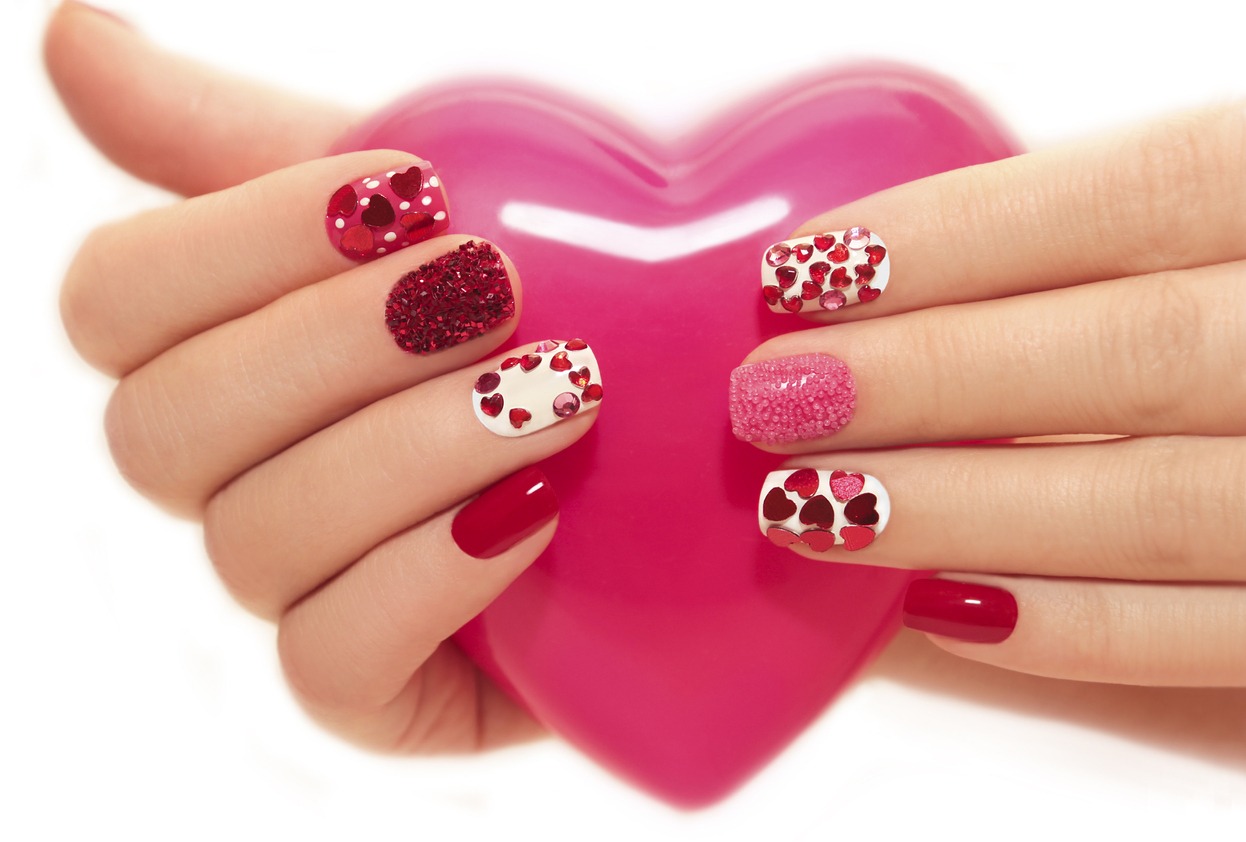
There is never a bad time to learn how to do your own manicure at home, whether you want to save money or are hesitant to go to the salon. When you paint your own nails, you can save money while also feeling good about yourself. It can also aid in relaxation. Also, even if you don’t consider health and safety, the idea of never leaving the house is very appealing. Even if you’ve been doing your own manicures for the past two years, getting the same results at home as you do at the salon can be difficult.
What exactly is a manicure?
A manicure is a way to make your hands look nice. Your nails will be shaped, filed, and then shaped again. After that, your cuticles will be pushed back and cleaned, and your hands will be massaged. The last step is to paint your nails whatever color you want.
It might be tempting to skip the salon and give yourself a manicure at home, but you should leave it to the experts. It takes years and hundreds of times painting nails to get the perfect polish. It’s all about paying attention to details and getting the polish as close as possible to the cuticle. Also, it is much harder than it looks to get a finish that is smooth, even, and shiny. Manicures should be done the same way in a salon or by a beauty therapist who comes to your home. The main difference is how easy and comfortable it is to do it at home.
Essentials Tools for the Perfect Manicure
If you want a manicure that looks professional and lasts more than a couple of days, these are the tools you’ll need on hand during your at-home manicure session.
Nail Cutter
A nail cutter or clipper is the most basic tool needed for a manicure or pedicure. Your nails are one of the dirtiest parts of your body and a breeding ground for bacteria. Trimming them on a regular basis is essential if you want to maintain your overall health. It is best to keep them short at all times to help prevent disease spread.
4-Way Buffer
After you’ve filed the tips of your nails, buff and shine the surface of them. This will smooth out any ridges and leave your nails ready for a fresh coat of paint. Buff your nails gently with the fine side, then smooth the surface with a different side, and finish with the panel that will add shine.
Cuticle Pusher
You will need one of these because: 1) to get rid of any gunk under your nails and 2) to push your cuticles back off your nails. Soak your hands in warm water for a few minutes before you try to push your cuticles back. You’ll be able to do a great job with this. This will make the skin easier to push back because it will be softer. Put some moisturizer on your cuticles and gently move them toward the base of your nails in small steps. Don’t rub too hard or too quickly.
Nail Polish
If you want a manicure that lasts, it’s best to use polish that’s made to last. And if it’s both a color and a base coat, you’ve really hit the jackpot. With this combination, you don’t have to do an extra step in your manicure, and your polish will stay on and not chip for a while.
Nail Corrector Pen
It’s impossible not to get nail polish on skin. Almost nothing you can do will keep this from happening, so keep a nail corrector pen handy. The acetone-soaked nib, which is shaped like a pen, will help you get rid of any extra polish without ruining the rest of your manicure.
Nail Polish Remover
To get rid of old nail polish before a manicure or pedicure, you must use nail polish remover. By doing this, your nails will be clean and ready for the nail look. After putting on nail polish, you can also use polish remover to clean up the sides of your nails and toenails.
Base Coat
Did you know that your manicures and pedicures will last longer if you use a base coat? It keeps your natural nails from getting polish on them. Since nails already have oils on them, using a base coat is like using a primer before painting something. Basically, it gives you more days to wear your nails and keeps them from getting stained.
Cotton Balls, Rounds, or Squares
You can clean your nails with cotton balls, rounds, or squares and nail polish remover. Cotton balls are a great way to get rid of old nail polish because they are soft, strong, and absorbent.
Top Coat
A top coat will help your manicure last much longer without chips, so it’s an important step that should never be skipped. Some top coats are made to work best with a certain polish, so if you can, it’s best to use a duo.
Cuticle Oil
Once your nails are dry, put a few drops of cuticle oil on your cuticles and massage it in gently. This will help fix any damage to your cuticles and keep your skin soft and healthy.
Cuticle Nipper
A cuticle nipper is a tool used to fix hang nails, hard cuticles, and dry skin around your nails. It can get into tight spots and trim those annoying ingrown nails with a lot of accuracy. It also lets you carefully cut away soft tissue around your nails that you don’t want.
Nail Buffer
Use a nail buffer to make your nails shine and get rid of any dullness. It also smoothes your nails, which aids in the removal of any dry ridges or peeling. This tool is mostly used to polish your nails and make them look the same.
Nail File
This tool is used to gently smooth and shape the edges of your nails. There are many different kinds of nail files on the market. Emery boards and plain metal files are the most common. Emery boards are preferable because they are less rough. Most metal files are hard on your nails.
Quick-Dry Solution
When you paint your nails at home, you are more likely to do other things, like scratch your nose or read a book, than when you go to a salon. And the more you move around, the more likely it is that your nails will get dirty or scratched. This won’t happen if you finish your manicure by putting a few drops of a quick-dry solution on your polish and top coat. This will help them dry in seconds.
Buffing Block
The ridges on the top layer of nails can be smoothed out with a buffing block, making the nails look shiny and healthy. This tool also helps your nail polish stay on! Because buffing blocks can be used for both manicures and pedicures, they are a great tool to have around. Buffing blocks make your manicures and pedicures look better all around.
Nail Brush
Nail brushes are used to clean the nails really well. You can also use them to get rid of tough stains or dirt on your nails. You can use this every day to make your nails look as neat as possible.
Orange Stick
Orange sticks can be used for many different things. You can use them to push back your cuticles, clean out dirt from under your nails, or fix mistakes in your nail polish. There’s no right way to use these, but you should always have some on hand for quick fixes.
How to do a Manicure at Home
Step 1. Get these basic nail care tools
Here’s what you’ll need before you sit down to do your nails:
- Cotton balls, rounds, or squares
- Nail file
- Manicure sticks
- Cuticle clippers and cuticle remover
- Base coat
- Nail polish
- Nail polish remover
- Clear top coat
- Quick dry drops
- Extra materials: pencil and roundhead pin
Step 2: Take off any nail polish you’ve already put on
When you’re at the drugstore and trying to decide what kind of nail polish remover to get, keep these things in mind: Nail polish removers that don’t contain acetone are gentler than those that do, but acetone-based removers work much faster and are in contact with the skin for a shorter amount of time. It’s a trade-off, because even the polish removers that don’t have acetone in them are still not good for your skin.
Step 3: Give nails a shape
If you need to, cut your nails and then shape them with a nail file. Most of the time, slightly rounded nails or square nails with rounded corners look best, but you can be as creative as you want.
Avoid metal or very rough nail files to keep your nails from splitting. Instead, choose an emery board or a crystal nail file that is only slightly rough. Smooth the tops and sides of the nails with a slightly rough buffer to make sure the surface is even. However, if you buff the nails too much, the polish won’t stick as well and can literally slip right off.
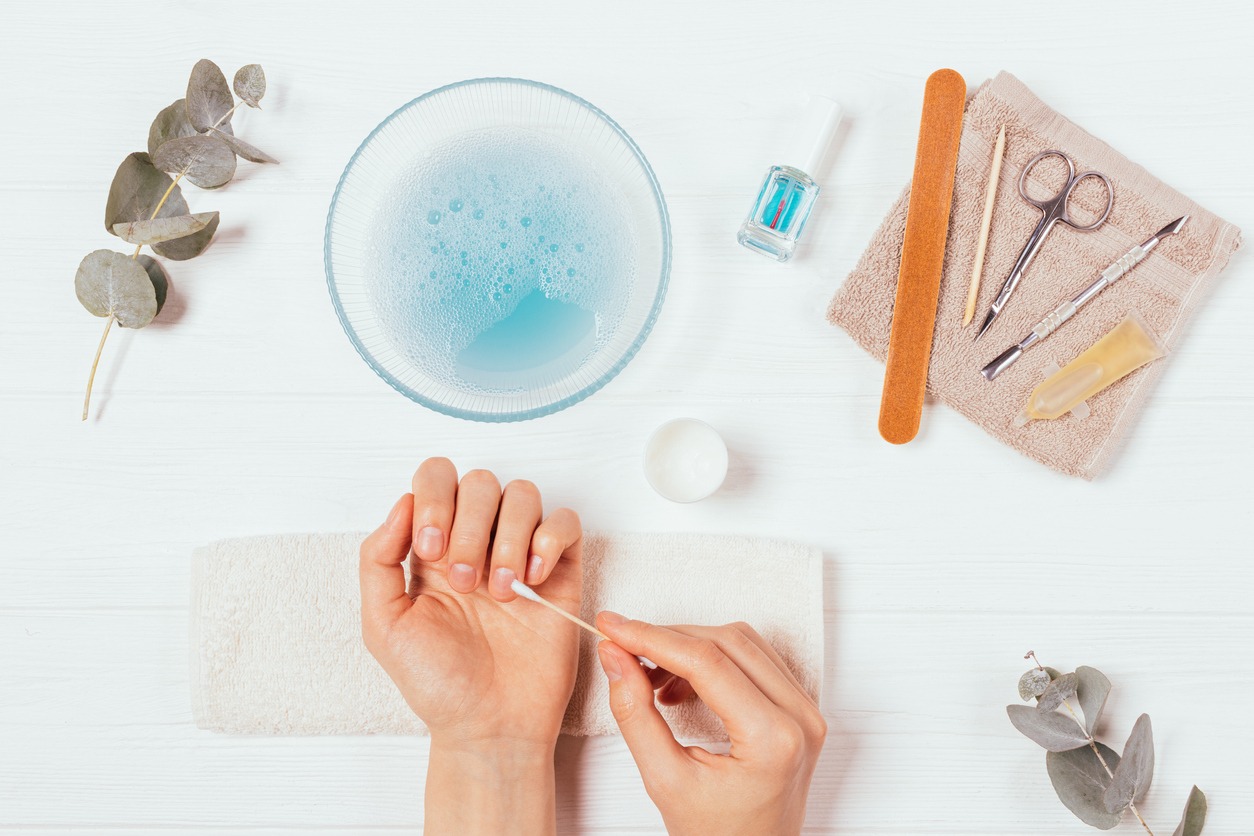
Step 4: Soak away
Put your hands in a bowl of warm (not hot) water and add a few drops of your gentle face cleanser or shampoo. Soaking the cuticle before trimming is essential, but over-soaking causes skin and nail damage, so keep this step to three minutes or less.
Step 5: Apply callous/cuticle remover
Applying a bit of cuticle remover before cutting away the thickened skin around the nail will help a lot.
Step 6: Take off any extra cuticle and calluses around the nail
Using the cuticle pusher in your kit, gently push the cuticle back away from the nail. Don’t push it too far, though, or you could hurt the nail’s growth or tear the cuticle.
Be careful not to pull, lift, tear, rip, force, cut, or otherwise damage the cuticle. Do not cut into the cuticle. Instead, use a pair of metal cuticle nippers to cut off the free edge. It’s better to not do enough of this step than to do too much, because the cuticle helps protect the nail bed from all kinds of problems.
Now is also the time to cut off any hangnails on the sides of the nail. Again, be careful not to cut too deeply into the nail or the skin.
Step 7: Moisturize
Massage a rich body butter, moisturizing body balm, or silky, fragrance-free oil into the cuticles and all over the hands to keep the skin hydrated and healthy.
Step 8: Prepare for polish
If you leave moisturizing ingredients on the nail, the polish won’t stick well. Use a cotton swab or pad to wipe the nail’s surface with nail polish remover to get rid of any leftover polish. Even though it’s best not to get remover on the cuticle because you want to keep that area moist, don’t worry if you do. Once the polish is dry, you’ll put moisturizer on your nails again. The most important thing to do in this step is to make sure that the nail has no oil or moisturizer left on it.
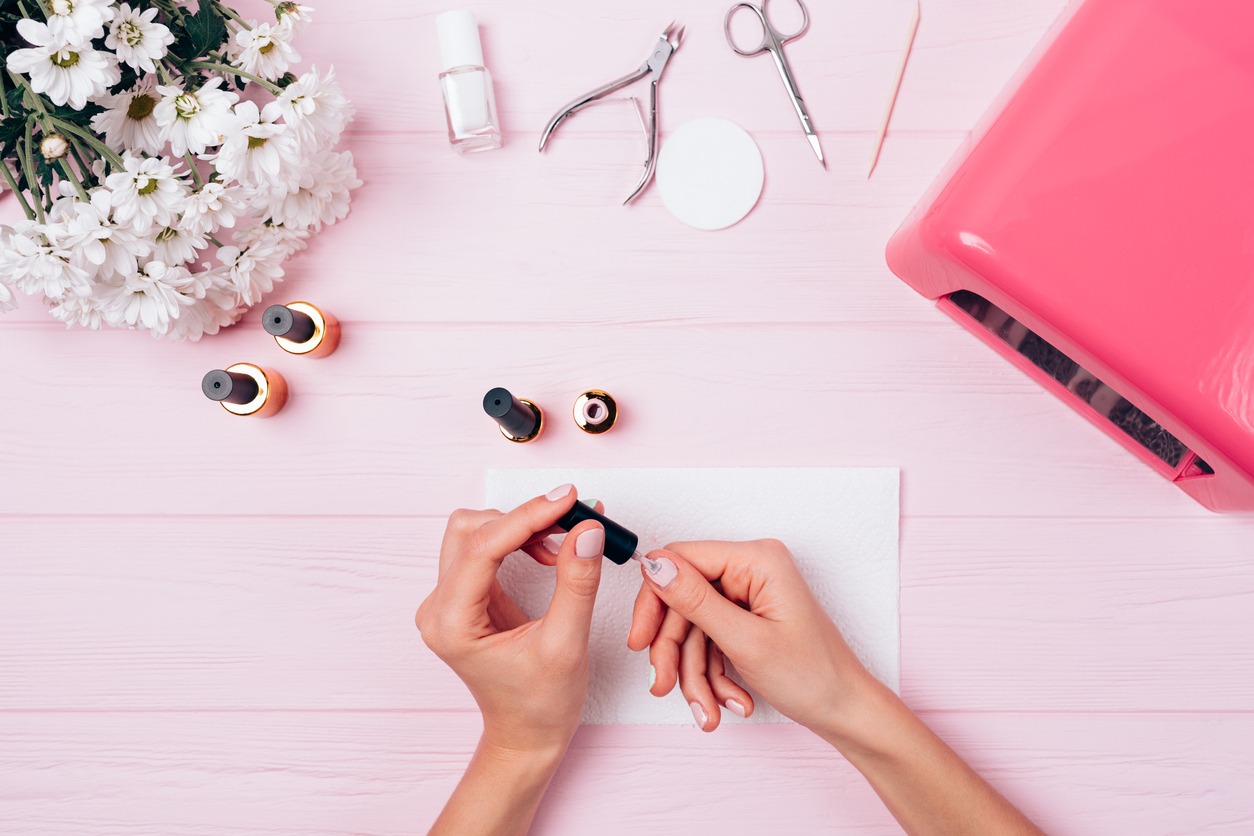
Step 9: Paint nails in layers
Use a base coat of ridge-filling nail polish to strengthen nails that are weak or break easily. A base coat also keeps your nails from getting stained or chipped. This is especially important if you like to wear red nail polish. Next, put on your nail polish in layers, letting each layer dry before adding the next. If you put on two coats of color polish and then a top coat to add shine, it should work.
If you’re new to painting your nails, start with a lighter color. If you make a mistake, it won’t be as obvious.
Tip: Use a single layer of top coat and a few minutes every other day to touch up your manicure. This can make all the difference in how long your hair looks like it just came out of the salon and how good it stays looking.
Look for mistakes and fix them, and you’re almost done! Be patient, because nails need time to fully dry. If you use heat, like from a blow dryer, the polish will chip and peel. Also, don’t put your nails too close to the airflow from the fan or your polish will get bubbles.
Step 10: Reapply moisturizer
Moisturizer is needed to keep your hands and nail beds looking healthy. Without this essential item, you can’t have nice nails and hands.
Conclusion
You can definitely give yourself a beautiful manicure if you have the right tools and know how to use them. There’s nothing wrong with getting a manicure from a professional on special occasions or just to treat yourself, but if you know how to do it yourself, you can save a lot of time and money.