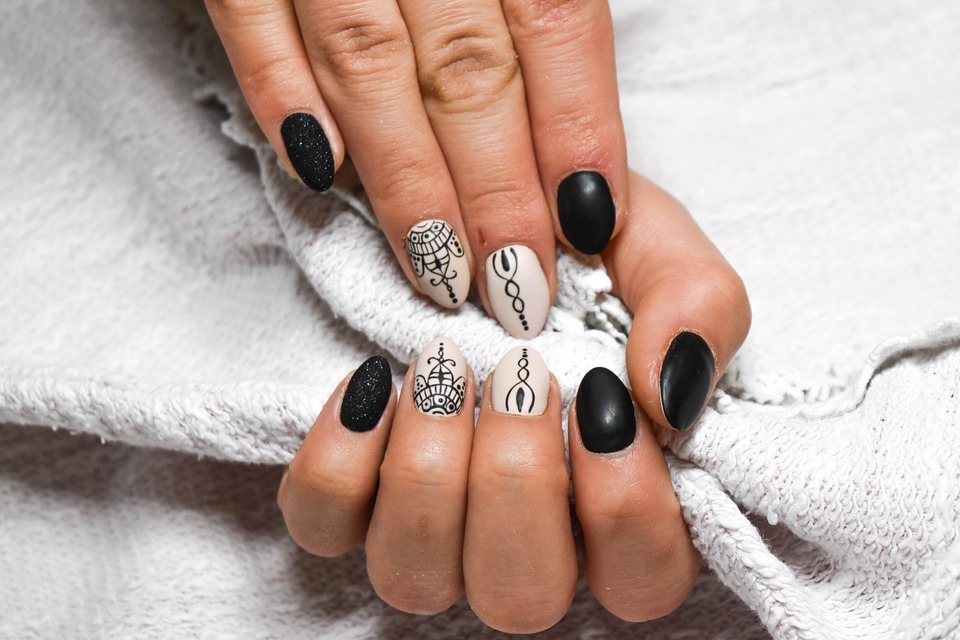
Beauty salons have made manicures quite expensive over the recent few months. The excessive rise in prices means that not everyone can afford to have an expensive manicure done. Furthermore, the quality of services at these salons has also deteriorated in several ways.
And if you have sensitive skin, being at the nail salon can potentially cause you issues. The salons often use products that are not suitable for your skin. To avoid all of this and several other problems, one should shift to doing manicures at home. While many think that it is difficult, it’s not.
Step-by-Step Tutorial for Doing Manicure at Home
Follow our simple tutorial to have an easy manicure done from the comfort of your home.
Step 1 – Gathering the Essentials for a Manicure
As you may have seen at a beauty salon, the specialists use a range of products as well as tools to ensure that your manicure is comfortable as well as performed in the most efficient manner. To make sure you get a similar experience from the comfort of your home, you need to get the following items first. They will be used at different stages throughout the manicure tutorial.
- Cotton (Preferably Cotton Balls)
- Nail Filer and Clipper
- Nail Buffer
- Cuticle Clipper and Remover
- Manicure Sticks
- Moisturizer and Scrub
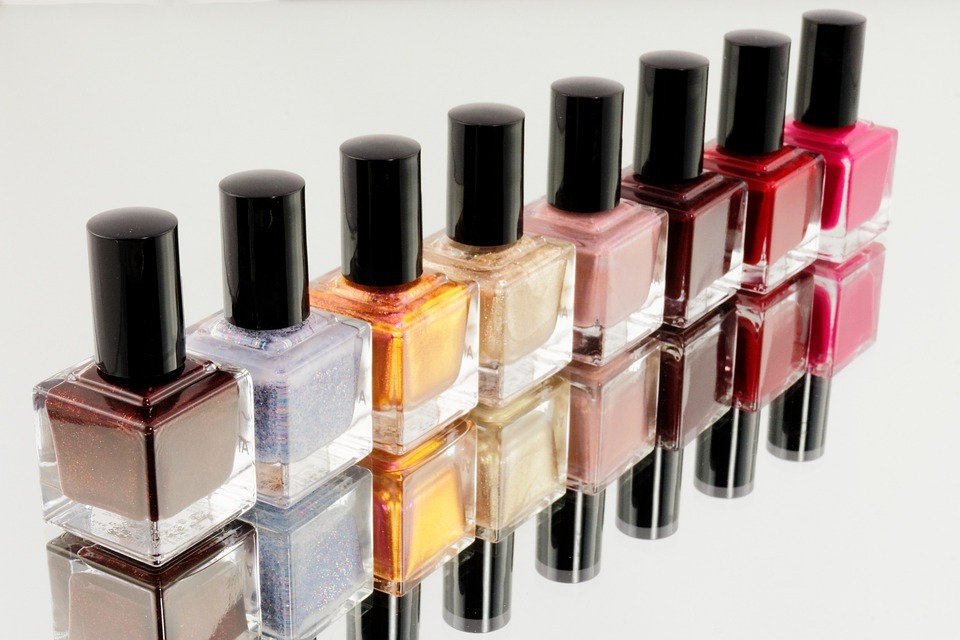
- Nail Polish and Remover
- Base, Top, and Quick Dry Coats
In case you find it difficult to get all of these items, you can simply get a DIY manicure kit. You can get this at a local beauty store. Alternatively, there are plenty of manicure kits on Amazon.com as well. You can buy it from there and have it delivered to the comfort of your home.
You can do many things at home as well. For example, one can easily refresh or fill their gels at home.
Step 2 – Preparation of Manicure
Prior to getting a manicure, one has to prepare for it. We recommend you create an environment around you that is peaceful. Try doing it at a time when there aren’t many people around and you can get at least 30 to 45 minutes alone. Try getting some light music on as well.
Now comes the part where you start preparing your nails for a manicure. The first step is to remove the old polish on your nails. In case you don’t have any previous nail polish on, you simply need to clean your nails thoroughly so that the coats can be applied directly on the nails without any residue dust on them. You can use a nail polish remover to clean your nails whether they have nail polish on them or not.
In certain cases, you can find a nail cleaner as well which is used by women who barely apply nail polish or don’t have any nail polish at all. It works effectively as well because your nails do not have any harsh chemicals applied to them as compared to the nail polish remover. You should use cotton balls to remove any residue in the form of nail polish or nail polish remover. Clean and dry the nails using a cotton ball.
Step 3 – Begin Your Manicure with Nail Cut and File
Now that you are done cleaning your nails properly, wash your hands once and dry them out with a towel. Make sure that your nails are fully dried.
To begin your manicure, clip your nails if it is essential. Some women have a long length of their nails and they may want to clip them down at a particular point. However, the more important part of this step is filing which is essential for every woman going for a manicure. File the nails gently and don’t get too harsh on them. It is recommended that you don’t file the nails in both directions but rather go in one direction at a time. Tilt the file slightly so that you can see the progress of the nails side by side.
Keep in mind that you should get a nail buffer, if essential. Do not use an emery board as it can chop off your nails or cut them right from the middle. This will create an absurd look on your nail. Use the nail buffer lightly to smoothen the edges and give them a better look as well.
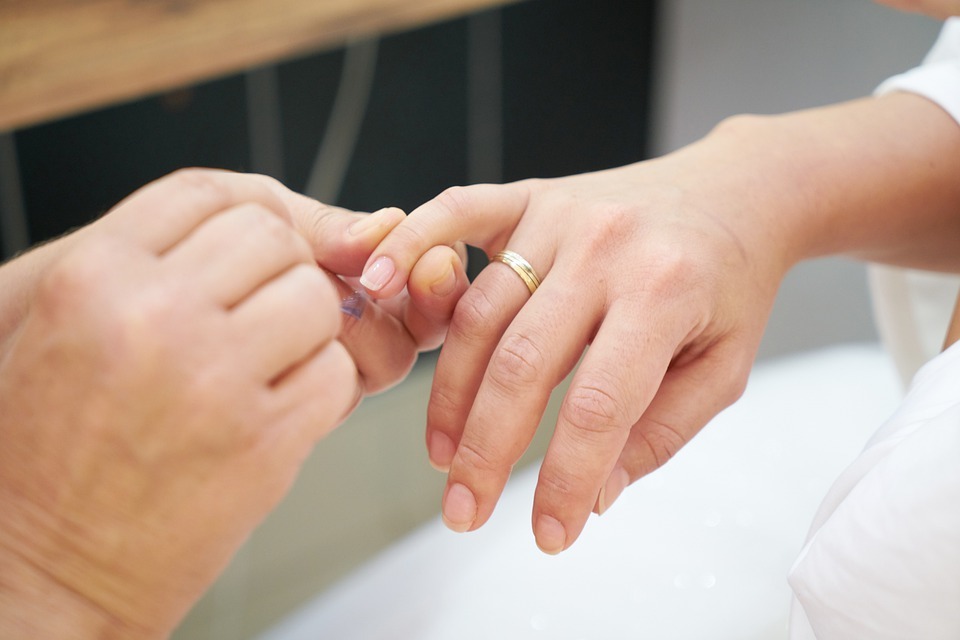
Step 4 – Getting on With The Cuticles
The most important part of any manicure is getting along with the cuticles. It is also one of the most delicate procedures during a manicure. Any harsh application on the cuticles can damage them and even your nail as well. It is essential that you use a cuticle remover on this step instead of using regular oil or balm. This is because some oil or balms aren’t sufficient to adjust the cuticles and that would result in a more forceful application later on.
Prepare the cuticles without cuticle remover and then push back gently with the help of a cuticle stick. It will help in softening up the cuticle as well as exfoliating the dry skin which will make it easier to push back the cuticle. You need to apply the cuticle remover in a gentle manner.
Many women try to cut their cuticle completely which would result in infecting your entire nail as well. Removing the cuticle completely can sometimes leave open space on your skin where bacteria and other harmful germs can enter the body or damage the area near your nails as well. It can also give you bumpy red skin which no one wants for sure.
You should also cut hangnails very carefully.
In case you have over-cut the cuticle or it is painful, you should soak your hands in warm water for a while. This will help you get over the pain and will avoid the infection on the cuticle. Seek medical attention if you somehow cut yourself and are bleeding.
Step 5 – Getting Ready for Coat
The next step is to get ready for the layer of coats that you are going to apply to your nails. The preparatory steps include moisturizing and exfoliating the skin. Use a simple scrub to exfoliate your hands. A soap is fine too. It is essential to use a moisturizer at this point so that the nail polish does not smudge later. This is one of the best tips to do manicures at home.
At this point, you should also give yourself a mini hand massage to relax. Once you are done applying the moisturizer and scrub, you should make sure that they are completely off the nails as well. Use a nail polish remover to ensure there is no residue remaining. Cotton balls can be used to clean the nails thoroughly.
Step 6 – Applying Base Coat
The foundation of a good manicure is to apply the right kind of base coat on it. This will help in protecting your nails and giving you a long-lasting manicure. It also helps in more protection of the nail as it does not get directly in contact with the nail polish. Makeup experts regard this step as the “foundation for makeup” which acts as a protectant for your skin.
Step 7 – Applying Nail Polish
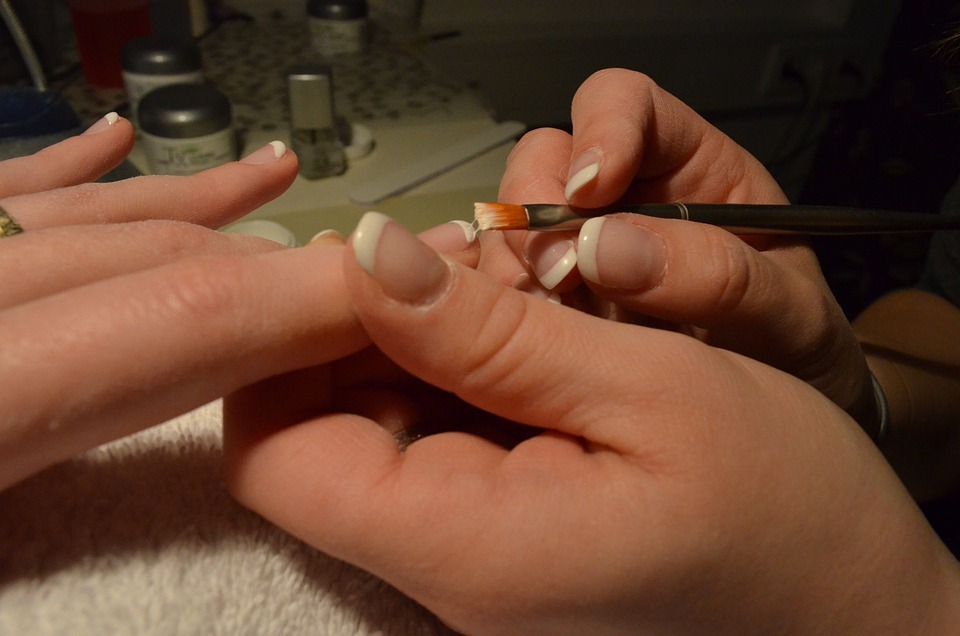
The most prominent aspect of a manicure is when you apply the nail polish as it is most visible. Therefore, pay special attention to this step and apply the first coat of nail polish to your nails. Make sure that this is a thin coat as you already have a base coat applied so there is no need to go extra at this step. Brush till the cuticle and take special care at the corners of your nail as well. The easiest way to do this is to give three strokes with one on the middle of the nail and two on the sides.
Keep in mind that there should be a maximum area covered in the first coat and the second coat would just be a fine-tuning of the first one. Experts recommend that you should have as much polish on your brush as much would fill your entire nail in the first coat. Therefore, a thin first coat and a finely developed second coat are required. If this is your first time doing a manicure or you just feel a bit under-confident, you can even try to get a nail polish handle which will help to keep your hand stable and achieve perfection for your nails.
One extra thing to remember is that there should be a difference of 2 minutes between your first coat and the second coat. In case you are using sheer or pastel shades, you might require a third coat as well, again with a 2-minute gap from the second coat.
Step 8 – Finishing With The Top Coat
The last step of having the best manicure at home is to finish it off with a top coat. Some may feel like skipping it because there are already two coats of nail polish. However, a top coat is essential because it
- Provides a long-lasting manicure
- Provides resistance to nails against chipping
- Adds up to the shine
- Increase the lifespan of the nails as well as the paint job
The top coat tightens as it dries so you need to be very careful about it when applying. Get a proper glossy seal top coat to ensure your nails have the ideal shine and the job is done right. A great tip for the end is to clean off the excess nail polish using a paintbrush dipped in acetone. This will give you the perfect glam on your hands.
Conclusion
Doing a manicure at home may sound a bit difficult to some but it isn’t much of a big deal provided that you follow the steps in the right manner. You may find it a bit difficult at the start which is why we recommend that you practice on plastic nails at first if you have any doubts. Once you have your hand all set on plastic nails, you can go on your real hand as well. Stay focused and you will be able to perform a professional manicure at home in no time.