
In every way, manicures are great. Because there are so many colors, shapes, and ways to do manicures, they look good, last long, and are easy to change. If you like to switch things up, you have a lot to choose from. But after spending hours looking at nail art ideas online and seeing how much they cost in different price ranges, it’s hard to decide what you want.
Before you get a manicure that costs a lot of money, you should think about how much time, money, and effort you are willing to put into keeping it up. This guide talks about the most common types of manicures so you can find the one that works best for you.
10 Different Types of Manicures
1. Basic Manicure
If this is your first time, you should keep things short and sweet. The best way to know what to expect from a manicure is to start with a basic one. It’s quick and easy. Also, if you get tired of it after a few days, it’s easy to change.
First, a lotion, cream, or oil is put on your cuticles by the manicurist. Then, your hands will be put in a bowl of warm water for 5 minutes. Then, the person doing your nails will dry your hands and clean your cuticles. The nails are shaped, trimmed, and cleaned. The next step is a quick hand massage. After that, a base coat will be put on your nails, and then you can choose the color you want. The nail polish is then sealed with a second layer of clear polish.
2. French Manicure
It’s stylish. It looks good. A French manicure is a good choice every time. The white nail polish on the edges, in the shape of a crescent moon, gives your nails a clean look. And now, fashion-forward divas are always trying new things with this classic type of manicure. So, there will be a lot of variety in terms of colors and decorations.
It’s not hard at all. Your nails will be painted with a clear, beige, or pale pink polish by the manicurist. After it dries, a crescent-shaped white nail polish is painted on the tip of the nail. But you can also paint the tips in different colors if you want to give the classic French manicure a colorful twist.
3. Reverse French Manicure
The reverse French manicure is a fun and fashionable take on the traditional French manicure. This one is different from the other because the crescent moon is painted in a darker color at the base of your nail, close to the cuticle. This is easy and stylish, and you can do it at home without much trouble.
First, they will clean, trim, and shape your nails. For a few minutes, you let your hands soak in warm water. The cuticles will then be pushed back or cut, and the shape of a crescent moon will be painted near them. When it’s done, clear nail polish is put on the nail. After that polish dries, a darker one is put on your nails. The moon will be painted a lighter color in this case. But you can also go for a darker moon with lighter nails everywhere else. Once the nail polish is on and has dried, the manicurist will draw the moon at the base of the nail in the shape of a crescent. A coat of clear nail polish finishes it off.
4. Paraffin Manicure
If your hands are rough and dry, the best way to take care of them is to get a Paraffin manicure. The manicure is like getting your hands pampered at a spa. It involves massaging the hands with oils to make them feel good. At the end of the process, your hands will be so soft that you won’t believe it.
First, the manicurist uses a tool to melt the paraffin wax. After that, the wax is left alone for a while to cool it down. During this time, oils or lotion are used to massage your hands. When the wax is at a comfortable temperature, your whole hand is dipped into it. The hands are lifted, and the wax is left on the hands to dry. It is put back into the wax and lifted again. This process is repeated seven times, giving you seven layers of wax on your hands. The hands are then given a half-hour break. After that, the wax is taken off, and then the regular steps for a manicure are done.
5. American Manicure
There is a small difference between an American manicure and a French manicure. Here, your nails look more natural and like they belong to you. In this manicure, even the shape of your nails is different. It’s a classy style for people who like a neutral look instead of nails that are perfectly manicured.
The first steps are the same: your nails are cleaned and cut. Your nails are cut and shaped to be rounder (unlike the square form in French manicure). After putting on base coats, you paint your nails with shades of ivory. The nail color is either sprayed on with an airbrush or just painted on with a brush.
6. Gel Manicure
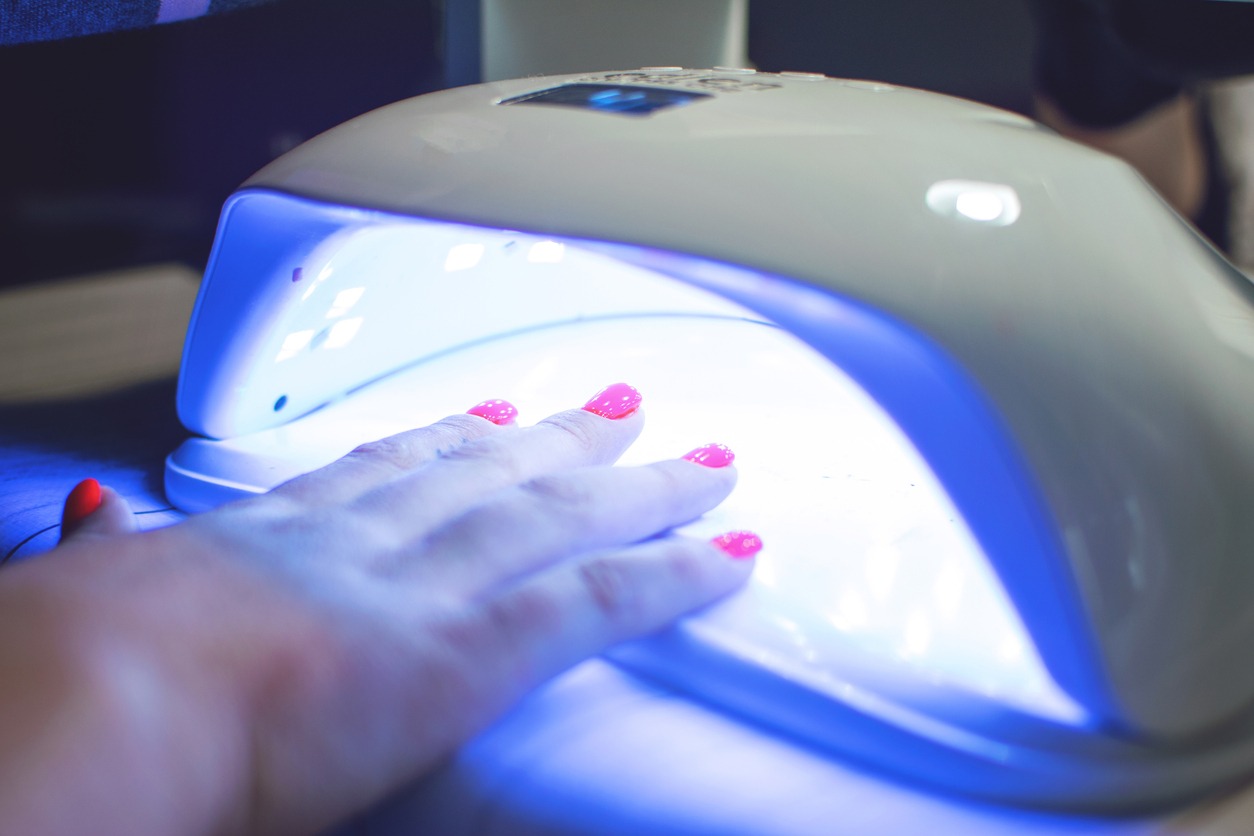
Gel nails last a long time. This is a good choice for nails if you want something that is easy to care for and still looks good. Gel manicures don’t require regular salon visits for manicure appointments. It just takes a special nail polish that cures under UV light to make the effect last longer which you can find as places such as the nail salon St George.
The process starts with basic steps like trimming, cleaning, buffing, pushing back the cuticles, and putting on a base coat on the nails. After this, your nails get two coats of a special gel polish. Before putting on the next coat, each one has to be completely dry. During each step of drying the nail polish, which takes only a few minutes, your fingers will be exposed to UV light. Gel polish is more durable than any other type of polish. So, your nails can keep that “wow” look for a long time.
7. Mirror Manicure
Mirror nails are everywhere on social media, like Instagram, Pinterest, YouTube, and even Facebook. It started as a trend on social media, and ever since then, millennials can’t get enough of it. If you like to show off your inner glitz through your nails, then go for it.
After the basic steps of a manicure are done, a thick coat of black (or another dark color) nail polish is put on the nails. Gel nail polish can give you a look that lasts longer. The polish on the nails is dry (you may dry it under the UV lamp). Then, the chrome pigment is painted on the nails to make them look like mirrors. After putting on a thin top coat, it is again cured under the UV lamp.
8. Acrylic Manicure
Not a big fan of long nails? Then you should get an acrylic manicure. It uses a powder polymer and a liquid monomer to cover your nails with a hard layer of acrylic. It’s a nail extension that looks like your natural nail after a while. It’s best to go to a good salon and have a skilled manicurist do it.
To make the nail surface rough, the manicurist buffs it. This rough surface makes it easy for the acrylic nail to stick to your natural nail. A brush is used to carefully put the gum-like acrylic mixture on your nails. The brush is then used to sculpt it into the shape of nails. With the brush, the rough edges are smoothed out. Nail polish is put on the nails after the base coat has dried.
9. Shellac Manicure
You’re too lazy to care for your nails regularly? If so, a shellac manicure will help you out a lot. Shellac manicure is known for how long it lasts because it is a mix of gel nail polish and regular nail polish. Therefore, the likelihood of chipping is lower.
The person who does your nails will first clean, file, and shape them. After that, the nails get two coats of shellac nail polish. A dryer is used to dry each coat. The last step is to put a top coat on the nails. Shellac manicures, on the other hand, make your nails stronger. Without chipping, it lasts for about two weeks.
10. Vinylux Manicure
Do you get tired of the same style quickly? Then you need a Vinylux manicure. This manicure stays on nails for a long time and is easy to take off.
After the basic steps of a manicure, the manicurist will use Vinylux nail color to paint your nails. There are different colors of these. This nail polish doesn’t chip easily, so you don’t need a base coat. Two coats are put on, and then a special top coat is put on to finish.
You can add more stones and stickers to your nails if you want to. These are nice-looking.
Manicure Aftercare Advice
Follow these simple guidelines to make the most of your newly manicured hands:
- Give your nails enough time to dry after a treatment.
- When gardening or doing housework, wear gloves.
- Make sure your hands are totally dry after you wash them.
- Use hand cream regularly.
- Don’t use your fingernails as tools; instead, use the pads of your fingers.
- Always use a base coat under polish to keep it from staining, and use a good quality top coat to keep it from chipping.
- Use an acetone-free nail polish remover.
- Never use a metal file.
- Keep nails a workable length
- Use cuticle cream or oil every day to keep dry cuticles moist.
- Eat well and drink lots of water.
- Do simple hand exercises to keep joints flexible.
- Get regular manicures from a professional at least once every two to four weeks for maintenance and more treatments.
Conclusion
You don’t need a reason to take care of your nails. You can always try out the different types of manicures, whether you like to get creative with your nails or just want a pop of color before a big event.
For more tips and recommendations, you may also read our article about the Essentials for An Effective Manicure.